Email accounts and job queues
Configure email delivery in the Business Central company, then schedule message preparation and sending as two separate jobs.
Configure the sending account
Set up and verify the intended account in Email Accounts. Use Email Scenario Assignment to route a scenario to that account. Business Central uses its default email account for scenarios without an explicit account assignment.
The app registers these scenario names:
- APPower - Debt Collector Payment Reminder.
- APPower - Debt Collector Payment Request.
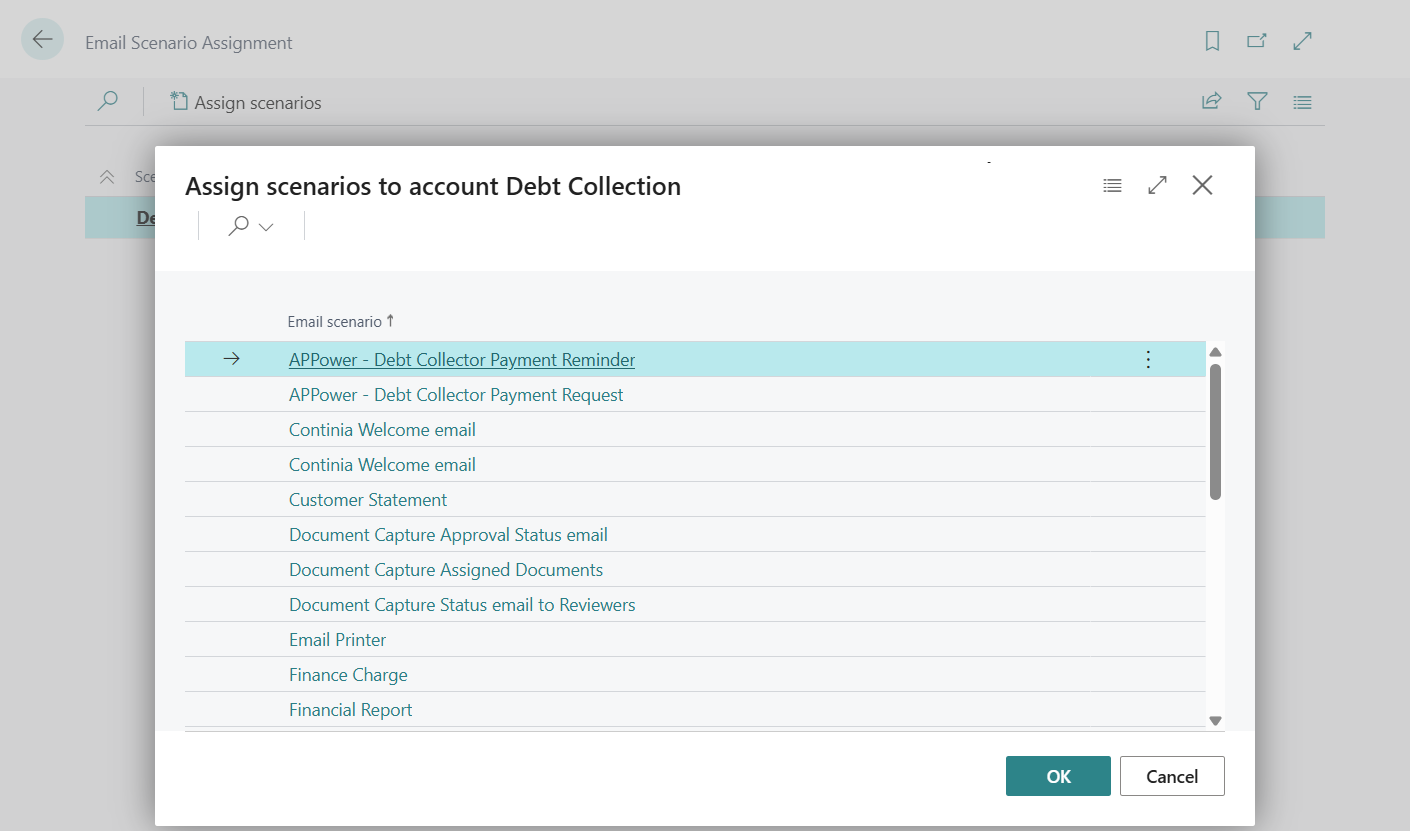
The screenshot shows the registered APPower scenarios in the assignment list. Check the sender behavior for the installed build as described below.
Sending-account selection in version 1.0.2.0
The sender uses the standard Notification scenario for messages linked to an existing Debt Collector configuration, and Default otherwise. The two APPower scenarios above are registered but are not selected by this sending path. Configure the relevant Notification/default routing and verify the actual From address during the pilot.
For standard account setup, see Set up email in Business Central.
Create the two job queue entries
Use Job Queue Entries to create a separate entry for each object:
| Object Type to Run | Object ID to Run | Object | Purpose |
|---|---|---|---|
| Codeunit | 71521884 | EmailCreatorDCPWR | Process active configurations and prepare messages in Debt Collector Email Outbox. |
| Codeunit | 71521885 | EmailSenderDCPWR | Send prepared messages and process eligible failed-message retries. |
- Create each job in the company where Debt Collector is configured.
- Enter the object type and ID, a useful description, and the required schedule.
- Ensure the job-running user has permission to run the objects and access the relevant customer, report and email data.
- Run a controlled cycle before enabling recurrence for normal operation.
- Use Job Queue Log Entries to verify execution and investigate failures.
Standard scheduling controls are described in Use job queues to schedule tasks.
Arrange the processing window
Schedule preparation after the finance team's planned payment-application work. Schedule sending after preparation has completed, within the same daily processing window. Allow time for any required review of messages and attachments.
Choose recurrence and intervals according to the agreed collection process and message volume. Avoid overlapping instances of the same process. Job scheduling determines when the app runs; the configuration's date rules and same-day processing check determine which invoice entries it prepares.
Monitor completion
Check both job outcomes and the corresponding outbox statuses. Successful preparation alone does not confirm delivery. Review messages that remain New after the planned sending cycle, including their creation date and the execution history of both jobs.
The sender also considers eligible Error messages for retry, with a maximum of three retry attempts. Resolve the underlying failure and review its outcome before preparing replacement messages. Use Working with the outbox for the operational steps.